Getting Your Sidel Matrix Lamps Right
Here is the problem with swapping out OEM lamps in a Sidel Matrix oven: if the temperature curve shifts even a little, you’re in trouble. You start seeing thin walls, weird pearlescence, or preforms that just aren’t heating evenly. It’s a headache. That’s why we spent the time making sure our replacements are a dead ringer for the originals.
The nitty-gritty on the heat
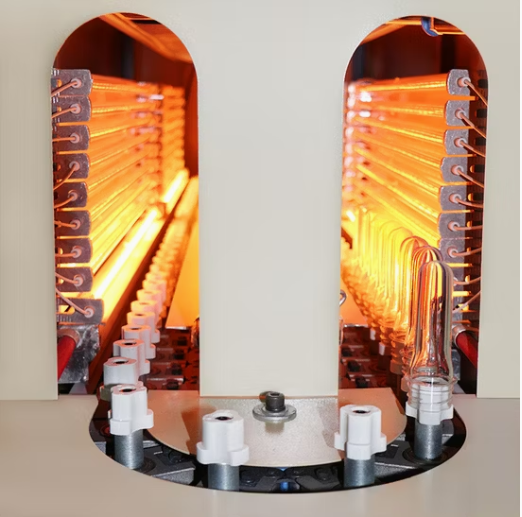
To get that heating curve exactly right, we don’t guess. We look at the relationship between the voltage, the wattage, and the actual length of the tungsten filament. If the resistance is off, the lamp won’t pull the right amount of current. Simple as that. We build our tubes to match the electrical footprint the OEM used. This means when your PLC asks for a certain power percentage, the PET preform gets the exact amount of heat it’s supposed to. No surprises.
Quartz and connections
We use high-purity quartz glass because blow molding is brutal on equipment. The constant heating and cooling would crack cheaper glass. Depending on your Matrix setup, we use R7s or Sk15 connectors. We’re obsessive about the fit here. A loose connection creates resistance, and that’s how you end up with melted sockets or lamps that burn out way too early. It needs to be snug.
Just drop them in
These are true drop-in replacements. You won’t need to mess with your wiring or spend hours tweaking your PID settings. But a quick tip: these shortwave lamps put out some serious heat. If your ventilation is clogged or a cooling fan has quit, that heat has nowhere to go and can stress your reflectors. Keep those reflectors clean. You want the IR energy hitting the plastic, not soaking into the machine frame. By nailing the electrical specs and the light output, we’ve taken the guesswork out of the process. You get the same heat distribution you’re used to, just without the OEM price tag.